|

|

|
|
|
|
|
| Home | Manuals | Supplies | Search | Consult | Contact | Testing | Service |
|
by Martin Sigley owner of Gold Coast Pianos
 Tools required for this tutorial:
Tablesaw, Planer, Drill Press, Scissors, Single Edge Razor blade or sharp knife and Ruler.
Recommended tools: Hold Heet Hot Glue Pot, Caliper and Bandsaw.
Sample Pneumatic, Rubber Coated fabric roughly .004” - .008” thickness, adhesive (Hot granulated animal hide glue traditionally), poplar, maple, or birch wood stock.
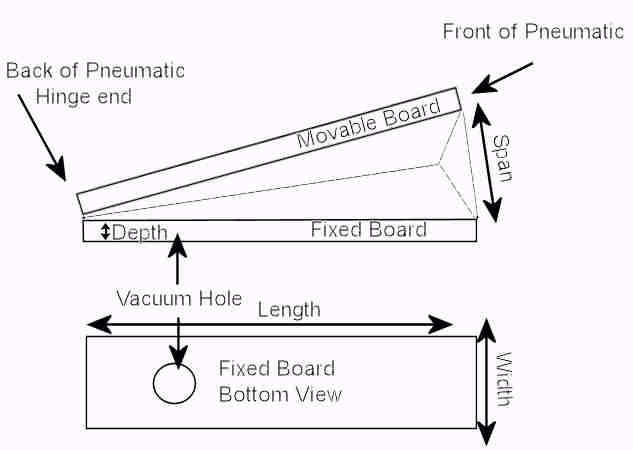
Terms Used in this text: Front of pneumatic: This is the widest part of the pneumatic at the end where it opens and closes. Back of pneumatic: This is the opposite end of the front of the pneumatic, typically where a small piece of fabric will be adhered on the inside which is called a hinge. Movable board: The part of the pneumatic that moves when vacuum is applied. Fixed board: The part of the pneumatic that is glued to the stack. Span of pneumatic: The widest distance between the movable board and the fixed board. Always the front of the pneumatic.
Pre-requisite for this tutorial: Covering a pneumatic with pneumatic cloth, there are many sources for this information on-line and in books which makes it unnecessary to re-explain it in this text. 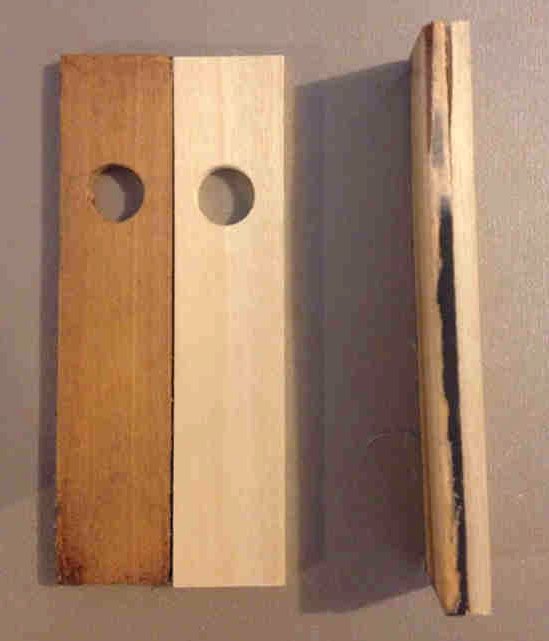 Original Boards and New Boards Step 1. Taking Measurements:
We will begin by taking a measurements of the span of the pneumatic. First take a single edge
razor blade and slit the sides of the pneumatic. Be sure not to cut
the front fabric on the pneumatic during this procedure. This cut
allows us to expand the pneumatic to its widest position without the
possibility of the fabric on the sides restricting it. With the sides
cut full length from hinge end to the front. Expand the pneumatic
fully using one hand, then with the other hand take your ruler and
measure the pneumatic across the front. Write this measurement down.
Take a measurement of the width, length and thickness of the fixed board and your stock lumber with your caliper, ruler and/or tape measure and write all the measurements down.
Step 2. Calculating the measurements to determine how much lumber is required:
Divide the length of the lumber by the
length of the pneumatic. This will tell you how many pneumatics you
can obtain from one row out of your lumber. Please leave yourself at
least 2” of excess lumber to account for wood loss incurred by
the saw blade. For example if the quotient from the last calculation
was an even number then subtract 1 from that quotient to account for
wood loss during sawing.
Multiply the total number of
pneumatics you desire by 2, this will tell you how many boards in total
you will need. I recommend that you increase your total by at least
10 pneumatics (or 20 boards) to account for mishaps. It's better to
have a few extra boards then to run short I assure you.
Add 1/8” or less, depending on
how precise of a cut you feel you can achieve, to the thickness of
your fixed board then divide the thickness of your lumber stock by
that number. Now round that number down to the nearest integer. This
will tell you how many pneumatics boards you will get from your
lumber after you resaw it in to strips.
Multiply the number of pneumatic
boards you get from one row of your stock lumber by the number of
pneumatics you get from the depth measurement of the lumber. This
will be the total number of pneumatic boards your lumber will yield
from one row after all cuts have been made.
Now divide the total desired amount of pneumatic boards by the total obtainable from one row of your lumber. Multiply the width of the fixed board by this number and and add 2-3”, with this calculation you will now know how many inches of lumber you will need to obtain the proper amount of pneumatic boards.
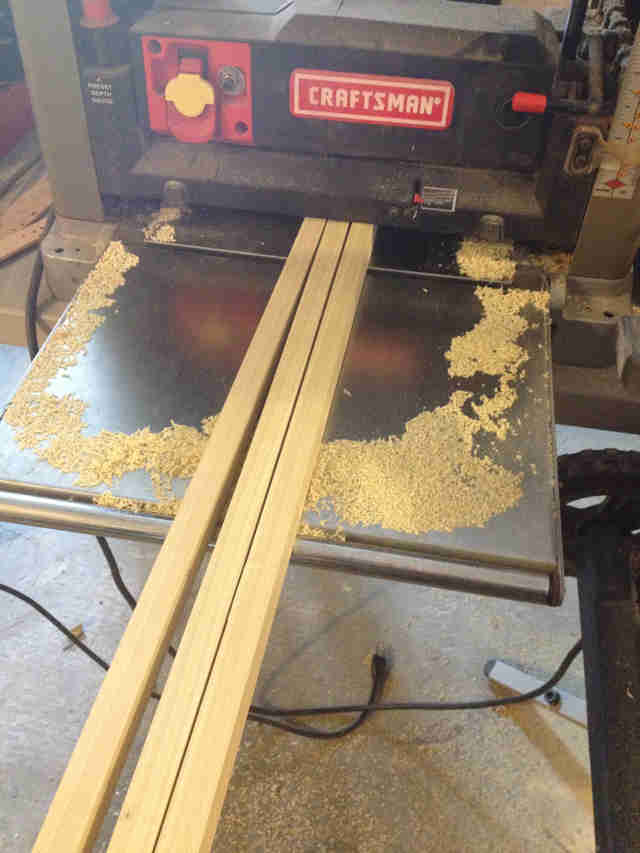
Step 3. Cut Stock Lumber to the Pneumatic width. Set your ripfence on your tablesaw to a point of 1/8” larger then the width of the fixed board. Test the measurement with scrap wood prior to making the actual cut to insure you have the right dimensions. Now cut your lumber lengthwise. You should have 1 strip of wood that is slightly larger then the width of your fixed board. Repeat the process until you have cut enough rows for all of your new pneumatics.
Step 4. Plane the wood to the exact width of the fixed board
Take your caliper and measure the width of your fixed board again. Lock
the caliper in place, you will not need to write down the measurement
again.
Place the rows of lumber into your planer on their sides, plane the edges down until they are smooth. Once they are smooth, flip them again and continue planing until your caliper fits snugly over them. You have now precisely duplicated the width of the fixed board.
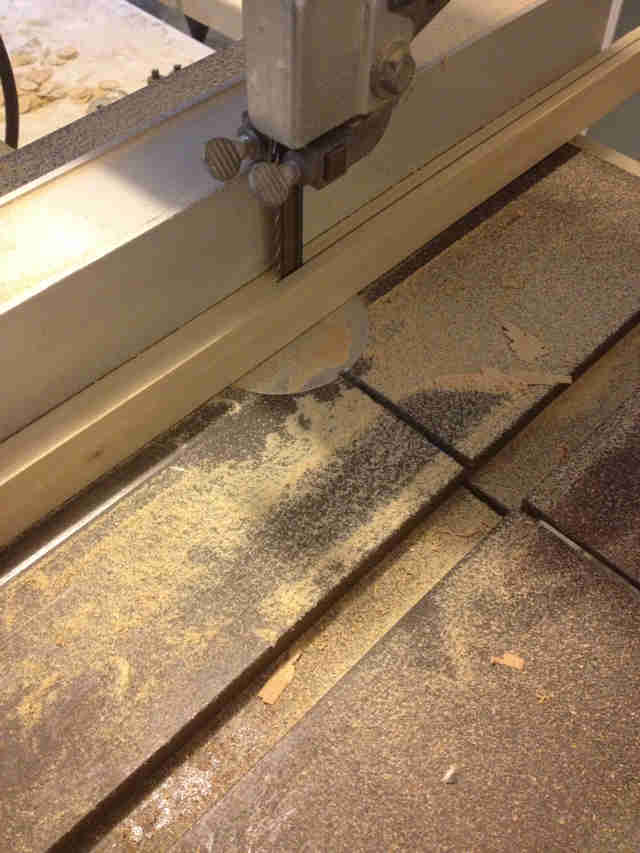
Step 5. Rip the rows of lumber on your bandsaw or table saw Set your ripfence on your bandsaw to 1/8” larger then the depth measurement of your fixed board. Test with a piece of scrap lumber to ensure it is the right measurement. Once you have set the rip fence place a row of lumber on it side (The side you just plained). Cut as many strips out of the lumber as you can get. You should already know how many strips your going to get from the calculations we made. If you were in error at this point, go back and cut more strips on the tablesaw and plane them down so that you have exactly the right number of boards to do the job.
Step 6. Planing the depth of the strips to match the fixed board
Take your caliper
and measure the depth of the fixed board. Lock it in place, once
again you do not need to write this measurement down.
Place the strips in your planer and plane the boards until you have a smooth surface. Once the surface is smooth flip the strips and plane them until the caliper fits snugly. You have now duplicated the depth of the original fixed board.
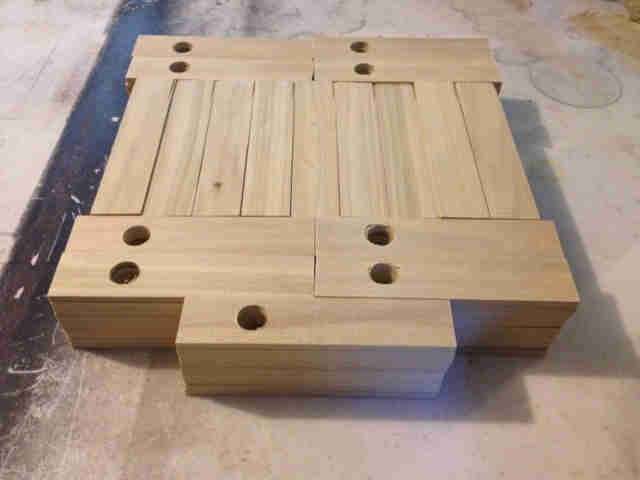
Step 7. Cut the pneumatics lengths out of the strips of lumber
Set your tablesaw rip fence precisely to the length of the fixed board.
Test with scrap wood to ensure it is indeed the same. This will be a
final cut so it must be exact.
Set your miter gauge so that it is square with your blade and begin placing the strips on the table against the miter gauge and the end touching the rip fence. Cut all of the strips. Now you should have all of the boards necessary to make your set of pneumatics and they should be the exact same length as the original fixed board.
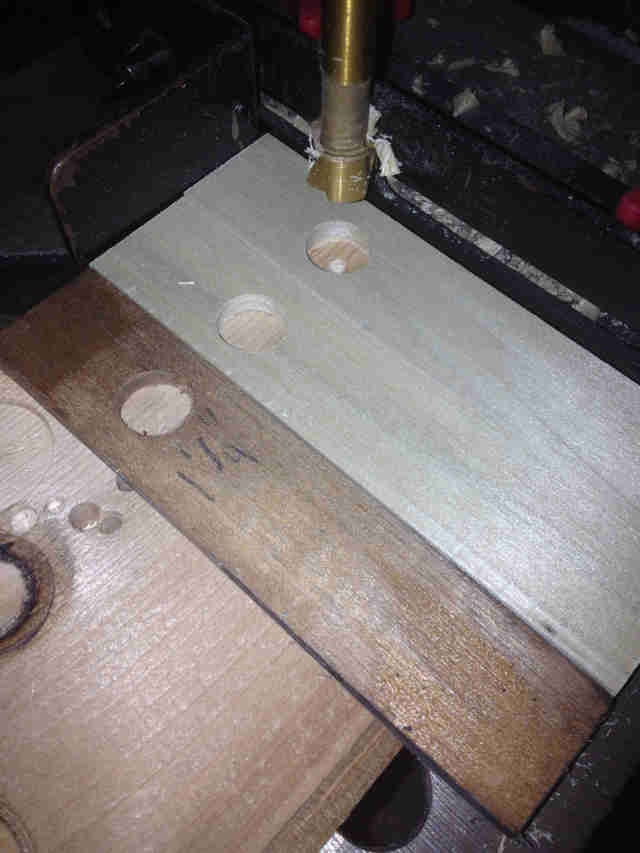
Step 8. Cutting the vacuum hole in the new fixed board. Count out the exact number of fixed boards you will need for your pneumatics. Find the forstner bit that matches the diameter of the vacuum hole in the original fixed board. Place the original fixed board on your drill press and insert the forstner bit. With the machine off run the forstner bit in to the hole and hold it there. While you are holding it in place, set your fences snugly against the edges of the fixed board. You now should be all set to begin drilling the vacuum holes in your new fixed boards.
Step 9. Hinge and Cover your new pneumatics
Tips for hinging and cutting fabric that will save you time. Using the
width of your fixed board, subtract 1/8” from this measurement,
tear a strip of pneumatic cloth to this width. Use your ruler and
make 20 marks in a row 1/2” apart. Now cut the strip in to 10”
sections. Place all the strips even in your hand, use the first strip
with the marks as the top piece of fabric. Now cut with your scissors
through all the strips along the marks. This will save you a great
deal of time as opposed to cutting each one individually.
Tips for cutting pneumatic cloth. This method is very similar to the above method. Take a piece of masking tape and wrap it around your fixed board as if you were covering the pneumatic with a piece of fabric. Take the tape off the board and tape it to your table where you plan to do your covering. Measure the length of the tape. Rip a strip of fabric to the desired width you want, make marks down the length of the strip spaced exactly the length of the masking tape. Count the marks then divide the total number of pneumatics by this amount, you will now know exactly how many strips you will need to do the job. Tear the remaining strips and line them up in your hand using the strip with the marks as the top strip. Cut through all the fabric pieces at once using your marks. Once the strips are cut, place one strip around your fixed board and mark the strip where you want to place the pneumatic. Take the strip and line it up with your masking tape, make a mark on the masking tape and use this as your guide when covering the remaining pneumatics. Note if you use a wide piece of masking tape you can use a square to make a long line at your guide mark. This will help insure you are gluing each pneumatic on the fabric perfectly square.
 |

![]() ..To
The Top of this Page . . . . . . . . . . .
..To
The Top of this Page . . . . . . . . . . . ![]() ..To The HOME Page
..To The HOME Page
|
Since "Player-Care" is an internet business, I prefer that we correspond via E-Mail (click here to fill out the 'Request Form'). However, if I'm not in the middle of some other activity, you can reach me at 732-840-8787. But please understand that during the hours from 8AM-5PM EST (Mon-Sat), I'm generally quite busy. So, I probably won't answer the phone. If you get the answering machine, please leave a detailed message stating the reason for your call. Also, repeat your name and phone number clearly and distinctly. By necessity, I prioritize everything in my life. And, if you call and just leave your name and number, and ask me to call you back, it might be a day or two before I return your call. Why? Because I don't know why you want me to call and I might not be prepared to assist you in an effective and efficient manner. If you leave me an E-Mail address (which I prefer), spell it out phonetically. The more you do to help me, the more I can help you in return. Don't rush. You have four minutes to record your message. |
|
407 19th Ave, Brick, NJ, 08724 Phone Number 732-840-8787 (Voicemail Only, No Texts) |